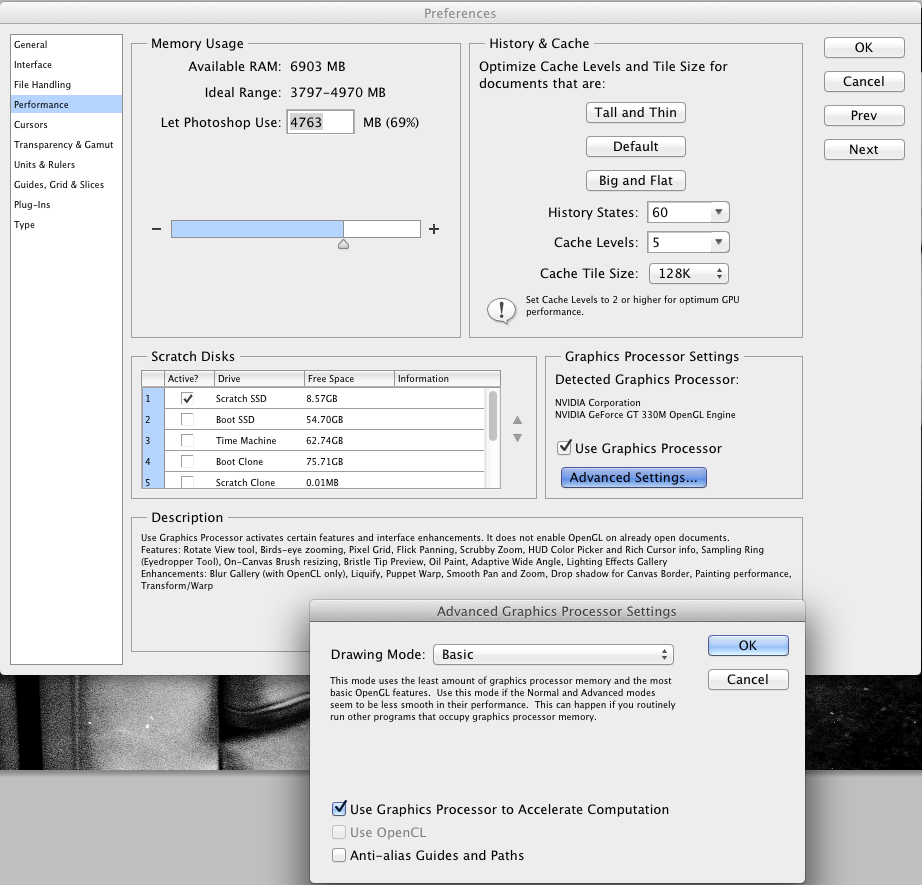
This is my setup. Lord knows I could use more than 8GB of RAM on my mid-2010 model MacBook Pro.

This is the dialog box that comes up when I try to liquify a B&W image. I don't remember this dialog box either.

It's not that I mind that they're different. I wouldn't care if it were slower or more laggy in its response. It's that they produce inherently different results. With the same liquify brush settings, my tools work differently. For example, all things being equal the liquify push left tool pushes much harder on a B&W veresus on a color image. Even with pressure set at 1 (no my stylus pressure isn't on), it still pushes too much and too hard. Brush density is somewhere around 8.
It's just annoying. It's not unusable. It's just really annoying because the results are different from what I'd expect to get from each brush stroke. Perhaps because I use OpenGL on my RBG images it alters Photoshop's ability to liquify color images. Perhaps the B&W liquify is the non-OpenGL engine and thus the "standard" way of liquifying. I don't care. All I care is that the results for the same settings are the same. And they are not. Vastly not.

Charles,
ReplyDeleteWhen you move from Lightroom to PS your image is becoming Greyscale. I'm not sure how it is happening, I tried with multiple options on the Lightroom and PS could not reproduce what you encounter. You can get the optimized Liquify back by simply doing Image/Mode/RGB.
Sehmuz
Sehmuz, I'm converting to B&W in Lr. Basically hit "V" in Lr on an image and then "Edit in Photoshop". This is how I'm doing it...
Delete