
With only 20 minutes left to shoot, I wanted one more set that utilized my trusty Lasko Pro Peformance High Velocity Utility Fan. Again, this thing was meant to dry paint and blow contacts out of your eyes. At close proximity, even on the lowest setting you can make your model look like she's riding a roller coaster from Six Flags.
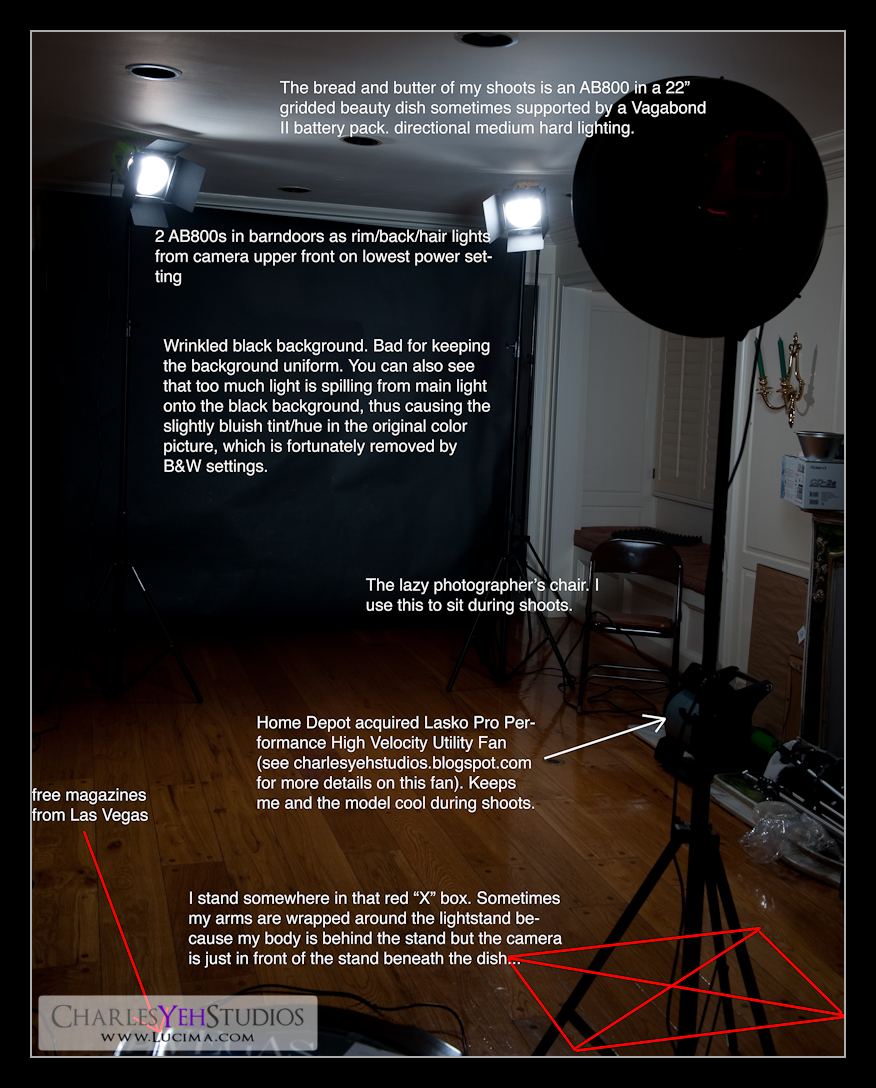
Anyway, with such little time remaining in the shoot, I decided to improvise and modify my light setup. I'm accustomed to using a Lumiquest SBIII in a SB-800 as a hairlight but it takes time to set up and dial in because a) it's so high up in the air that I have to get on a chair to dial it in and b) it needs a boom stand which also takes time to set up. With that said, I wondered to myself why I couldn't get double-duty out of my rim lights (which usually sit around shoulder level) as hair lights as well! After all they are essentially coming in from the same distance behind the model, all I'd have to do is raise them up high enough to reflect off the top of the hair. My initial fear was that it would create unwanted highlight in the shoulders or cast shadows from the hair/head onto the shoulders/body. So I jacked up the AB800's to the point where they were touching the ceiling and aimed them for the shoulders shooting out of the barndoors. They were about 5-6 feet behind Mladenka and probably another 3-4 feet above her head. For the most part however this new set up was a win, at least I can't find anything wrong with it replacing my hairlight (yet).
The real impetus for this shoot was that I wanted a wind in the hair shot. The fan wasn't exactly built for moving hair, unless by "moving hair" you mean "drying paint". The fan is ultra directional and can be concentrated into a pretty small path/beam. I wanted lateral directional movement in the hair so I placed the fan on the ground slightly behind Mladenka (between her and the background) and had it blowing upwards into her. In retrospect my placement and the distance of the fan was not ideal. Actually I think it was pretty bad looking at the pictures because most of the action occurs as the fan is blowing her hair straight up and not really from right-to-left. Let that be a learning lesson to me. In order to simulate wind, you need to have it move laterally not from bottom-up.
Shots were taken with my D3 and 24-70mm f/2.8 setup. Pretty much the setup I use for most of my indoor studio setups. Shot at 1/200th (so the Cactus V4 triggers can sync with the AB800's), f/7.1, ISO200, at 70mm for a closeup of the face/body. We clicked away probably just under 100 frames and we were done in about 10-15 minutes.
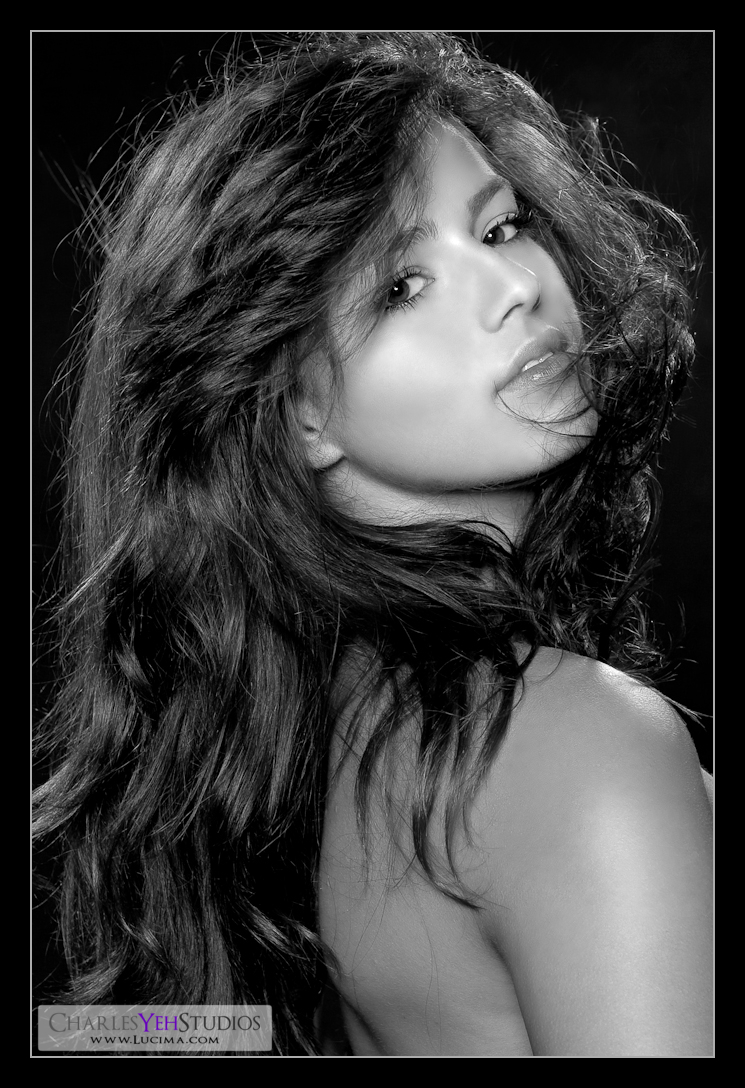
When I imported the pictures into Lightroom, I was finally able to see in detail the results of the hair in the wind. As you can tell from reading the results above, I was slightly dismayed with the movement of the hair and the messiness of the hair in the wind/fan. I think my wife's feedback had a lot of influence on how I felt. She said that the hair in the face was too distracting. Unfortunately all of the shots had a lot of hair in the face. Ultimately I picked the one I liked best and really trimmed and cleaned up most of the hair in the face but left some for a) effect b) because I was lazy and c) because I couldn't replace the hair with actual skin because there was too much hair and I couldn't use the healing brush or clone tool effectively in those spots. Cleaning up the hair took me a LONG time. Like 1-2 hours just cleaning up skin blemishes and hair.
After dealing with the hair, I was finally on my way back on my routine workflow for processing the picture. It took me another hour or so to dodge and burn in the highlights and shadows. It was difficult because I had to add some shadows to her cheekbones that weren't showing and I also had to deal with some very distracting highlights in around the mouth and between the brows and around the nose... that's pretty much everywhere. Finally it took me another hour to play with the black and white settings. Coming out of Photoshop I think my curves and level adjustments were overdone because the lights and highlights were too bright and thereby losing contrast in the facial skin. In Lightroom I pulled back the curve on lights and highlights so that they would not appear blown out or close to being blown out. I spent a lot of time with the fine-tuning on the color adjustments in grayscale, adding saturating for certain tones and then pulling saturation for others to create a good-balance and dynamic B&W picture. Admittedly I'm not good at B&W and they always come out looking a little lacking IMHO.
My last touch was adding a little bit of split-toning in Lr to the highlights and shadows to give the picture some "character". This took me forever too because I didn't know how I wanted it to make it look better. Lots of the color combinations looked pretty good and I settled on the finished product.
What you see is the culmination of hours of frustration and hopefully lots of learning that has occurred as a result of this picture via post-processing and shooting. At this rate however, I feel like I'm learning lots more in retouching because of the time spent in Photoshop versus the time spent shooting. More to come soon! Here's the picture of the setup with notes!
No comments:
Post a Comment